
Hola chicas!!
I’m up on the Avery Elle Design Blog today with another project that I created using the Woodland Wonders Stamp Set and coordinating dies from the Spring 2016 Release!

Oh my goodness – this stamp set is sooooo stinkin’ cute and fun to play with!! Here’s how I created my project!
- Trim an A2 card from Solar White Card Stock. Score at 5.5”, fold in half and perfect crease with a Teflon Bone Folder.
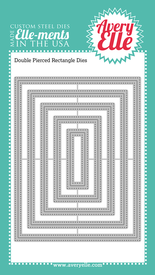
- Die cut an image panel from Sea Glass Card Stock using the Double Pierced Rectangle Elle-Ments.
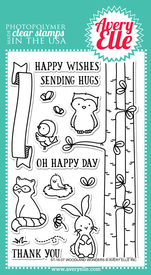
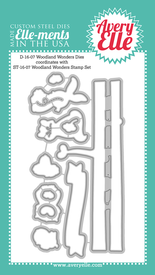
- Stamp the birch trees on Silver Fox Card Stock, and the leaves of the birch trees onto Lemon Grass Card Stock, both from the Woodland Wonders Stamp Set, using Pure White Pigment Ink. Use the coordinating Woodland Wonders Elle-Ments to die cut the trees and leaves. Adhere the leaves to the birch trees with foam tape.
- Stamp the bird and butterfly from the Woodland Wonders Stamp Set onto Solar White Card Stock using New Moon Dye Ink. Color both with Copic Markers, and use the coordinating Woodland Wonders Elle-Ments to die cut them out.
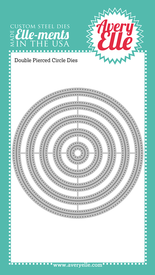
- Position and temporarily adhere the assembled birch trees onto the image panel and use the Double Pierced Rectangle Elle-Ments to trim off the top and bottom of the trees so that they fit onto the image panel. Then use the Double Pierced Circle Elle-Ments to cut out a circle from the center of the image panel. Before removing the circle, adhere the birch trees to the image panel with foam squares.
- Remove the die cut circle and set it aside. Adhere the remaining rectangle image panel to the card base with foam squares. Add a double layer of foam squares to the back of the circle die cut, and adhere it to the card base, making sure to align the birch tree pieces precisely.
- Adhere the birdie and the butterfly to the image panel with foam squares.
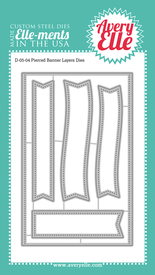
- Stamp the sentiment from the Woodland Wonders Stamp Set onto Solar White Card Stock using New Moon Dye Ink, and die cut it out using the Pierced Banner Layers Elle-Ments. Adhere the sentiment banner to the card base with foam squares.
- Apply some Clear Wink of Stella to the birdie and the butterfly to add some sparkle.
- Arrange and adhere Sparkling Clear Sequins to the image panel using Multi Matte Medium.
I love how the sweet little birdie and butterfly are spotlighted from the main image panel. In hindsight, I wish that I had heat embossed the stamped detail on the birch trees with white EP. I think the details would have shown up better. Next time! LOL I’ve listed all of the products that I used below.
I hope you’ll click on through to the Avery Elle Design Blog to check out the other incredible inspiration being shared over there! It’s good stuff, I tell ya! That’s it for me today! I plan to spend the day being creative in my craft room. It’s my favorite place to be, these days. Thanks so much for popping in today – you’re welcome any time!! Have a great weekend!


2 comments:
Love owls and this
is so cute! Great
design.
Carla from Utah
Holy Sweetness! This little guy is cute! Great card.
Post a Comment