Showing posts with label Gift Tags. Show all posts

Wednesday, October 28, 2020

My Favorite Things - Day 1 of A Very Crafty Holiday Video Series: Personalized Holiday Gift Tags!

Hello everyone!


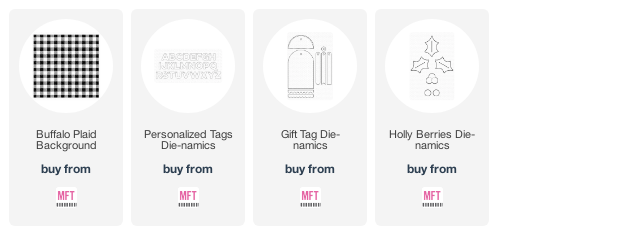
I'm popping in quickly today to share links to the details and a video for a set of Personalized Holiday Gift Tags that I created for Day 1 of this year's A Very Crafty Holiday video series! I used the Personalized Tags Die-Namics, the Buffalo Plaid Background Stamp, and the Gift Tag Die-Namics to create five sets of tags - one set for each of my five grandchildren - in both masculine and feminine color palettes!


This is just a sneak peek of one of the five sets of tags that I created! For the details about all of the tags, as well as about how you can win some very generous prizes for this year's A Very Crafty Holiday video series, please click on through to the MFT Design Blog! And you can find the video that I filmed showing my process by clicking on the graphic below.


That'll do it for me today, friends! I'll be back very soon with more crafty stuff! Until then, please have an awesome day and stay well!

MFT PRODUCTS USED:

Saturday, October 27, 2018

My Favorite Things–A Very Crafty Holiday Day 4: Advent Calendar!

Hello my sweet friends!!

MFT_CraftyHoliday_Blog-768x240

NOTE: Be sure and read all the way to the bottom for information about how to win!!

It’s my favorite time of the year!!  And I’m beyond excited to help once again with this year’s A Very Crafty Holiday feature over at the MFT Design Blog!  My video shares four fun ways to create an Advent Calendar, a delightful family tradition of counting down the days until Christmas Day!  Here are some quick pictures of the four different ways that I feature the Cross-Stitch Tags for a super fun countdown calendar!

KKL_OCT2718-Very-Crafty-Holiday-Activity-Tag-WM

KKL_OCT2718-Very-Crafty-Holiday-Full-Frame-WM

KKL_OCT2718-Very-Crafty-Holiday-Gift-Bag-Tag-WM

KKL_OCT2718-Very-Crafty-Holiday-Glassine-GC-Tag-WM

KKL_OCT2718-Very-Crafty-Holiday-Gift-Card-Tag

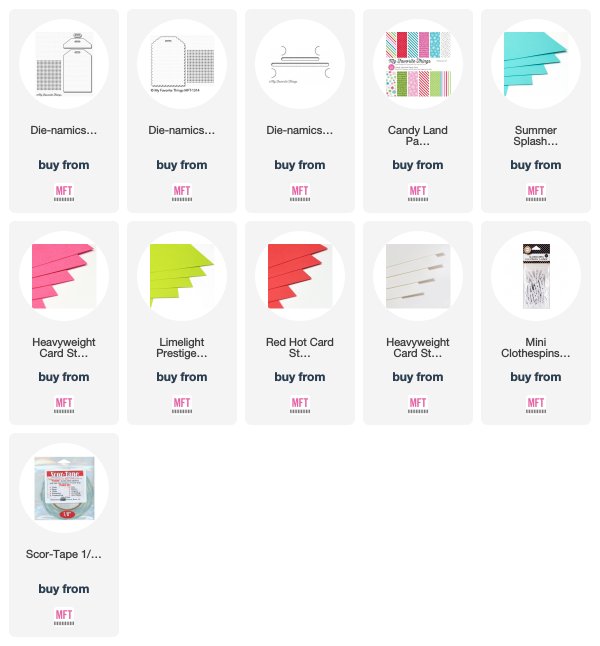
These are just four of the ways that these tags could be displayed and potentially used from year to year to help your kids or grandkids countdown to Christmas Day!  If none of these ideas work for you, you could even thread some ribbon or baker’s twine through the hole on the tags and hang them on your Christmas tree as ornaments!  The possibilities for continuing this tradition are endless!!  I’ve listed and linked all of the products that I used below.

Please click on through to the MFT Design Blog to be linked to the video I made showing you how to create these easy tags and the ideas to display them.  I’ve also created two PDF’s for your convenience in recreating these tags, if you’d like to make the same ones I did!  You’ll find all of that, as well as the information about how to win a $50 Gift Voucher to the MFT Online Boutique!!

That’s it for me today, friends!!  I’ll be back very soon with more crafty goodness to share with you!  Thanks so much for stopping by today – it always makes my heart smile when you do! Have a great Saturday!

PRODUCTS USED:

Tuesday, June 26, 2018

My Favorite Things–Hits & Highlights: COCKTAILS!

Hello my loves!!

Print

Have you missed me?!!  LOL  I’ve been super busy behind the scenes doing gramma stuff and trying to get my July Design Team projects done! But I wanted to pop in and share  project that I made for the Retreat that I helped teach at the MFT Headquarters in Eustis, Florida!  We had 30 of THE most adorable ladies join us for five classes over three days, and I was blessed enough to teach one of the three hour classes.  The theme of this month’s Hits & Highlights Challenge just happens to be COCKTAILS, so my project fit the bill perfectly – BONUS!!

KKL_MAY0618-CD-Day-2

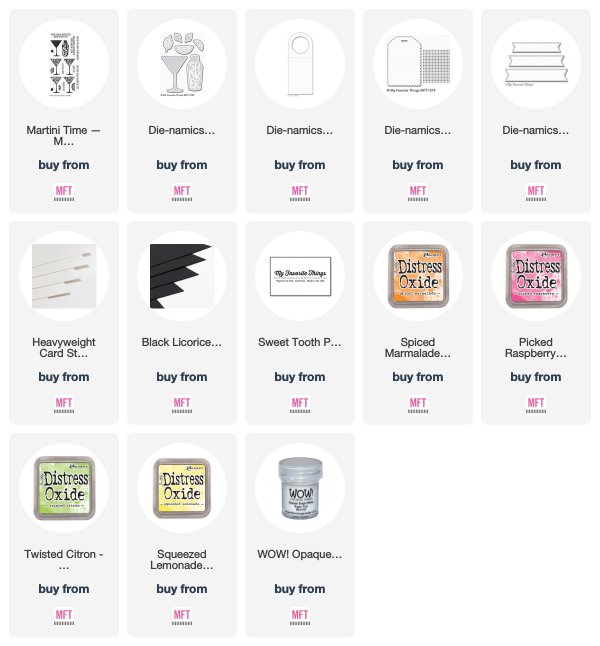
Yes, friends!  I broke out the Shrinky Dink to create some super fun glass charms and a tag for a fun gift presentation!  The MFT Products that I used are highlighted in the instructions and linked below.  Here’s how I created my project:

1. Die cut the Wine Tag Die-Namics from Smooth White Card Stock.

2. Using the grid from the Cross-Stitch Tag Die-Namics, die cut the grid from the bottom of the wine tag die cut.

3. Stamp the solid martini glass image from the Martini Time Stamp Set onto some Smooth White Card Stock using Spiced Marmalade and Picked Raspberry Distress Oxide Ink, blending the two colors at the stem.

4. Stamp the lemon image from the Martini Time Stamp Set onto some Smooth White Card Stock using Squeezed Lemonade and Twisted Citron Distress Oxide Ink, blending the two colors on the rind.

5. Die cut the solid martini glass and lemon using the coordinating Martini Time Die-Namics.

6. Stamp the sentiment from the Martini Time Stamp Set onto some Black Licorice Card Stock using Sweet Tooth Pigment Ink. Heat emboss it with white embossing powder. Die cut it using the Stitched Sentiment Strip Die-Namics.

7. Adhere the martini glass, lemon and sentiment strip to the upper portion of the wine tag using foam squares.

8. Stamp the Appletini, Chocotini, Martini, Shaker, Lemon, Lime, and three olives onto some Bright White Shrinky Dink using Jet Black StazOn. Die cut the images using the coordinating Martini Time Die-Namics.

9. Using a 1/8” hole punch, punch a hole in each of the shrinky dink die cuts. Hold each of the die cuts on a heat-safe surface using tweezers or a piercing tool, and heat the die cuts with a Heat Embossing Gun until the die cuts shrink and lay flat. Quickly place an acrylic block on top of the shrunken die cuts to make sure that they’re good and flat.

10. Loop one of the silver jump rings through each of the holes in the shrunken die cuts and close the ends using needle nose pliers.

11. Place crystal beads and one or two shrinky dink charms onto each of the four wine charm wires. Using the needle nose pliers, curve the flat end of the wine charm wires to ensure a secure closure when pinched together.

12. Loop the stretchy bead thread through the holes in the wine tag grid and the loops of the wine charms and secure the thread by tying a knot in the back of the tag.

Keep in mind that I had a few of the products that I used in my personal stash, but they can easily be obtained at Michael’s or JoAnn’s if you’d like to reproduce this project yourself.  Here’s a closeup of the projecct:

KKL_MAY0618-CD-Day-2-Closeup


I’ve listed and linked most of the products that I used below.  Please click on through to the MFT Design Blog to be linked to the other spectacular projects that my teammates have created for you using the theme of COCKTAILS!  No doubt you’ll find some AMAZING designs to inspire you!

That’s it for me today, friends!  I’ll be in my craft room continuing to cross off the stuff on my “to do” list!  Thanks so much for stopping by today – I appreciate it more than you know!  Have an amazing day!

PRODUCTS USED:
Friday, October 13, 2017

My Favorite Things–Very Crafty Holiday Gift Tags!

Hello, friends!

MFT_CraftyHoliday_Blog-768x240

I’m popping in quickly to let you know that I created some super cute Cross-Stitch Holiday Gift Tags for the Very Crafty Holiday promotion that we’re doing over at the My Favorite Things Design Blog and YouTube Channel!  I used the new Cross-Stitch Tag Die-Namics from the October Release!

KKL_CraftHolidayTags-Blog-CloseUp

You can find more pics, a list of supplies and a video that I made to show you step-by-step how I created the tags.  You’ll also find a PDF of the patterns I used!  Please click on through to the My Favorite Things Design Blog for all of the details, including how you can have a chance to win a $50 Gift Voucher to the MFT Online Boutique!

Okay, that’s it for me today, friends!!  I hope you have a great weekend!  I’ll be playing in my craft room now that I’m back in Arizona and have lots of deadlines to catch up on!  Thanks so much for stopping by!